
Rods, Baits, and Nets: A Simple Equipment Guide for The Big One
The Big One is a casual fishing RPG built around casting, waiting, hooking, and reeling. The equipment screen can look busy at first, but it becomes much easier when you split it into three decisions: rod, bait, and net.
This is not a spreadsheet guide. It is a practical way to read equipment before a fishing trip: do you need a steadier catch, a clearer target, or more time before returning to town?
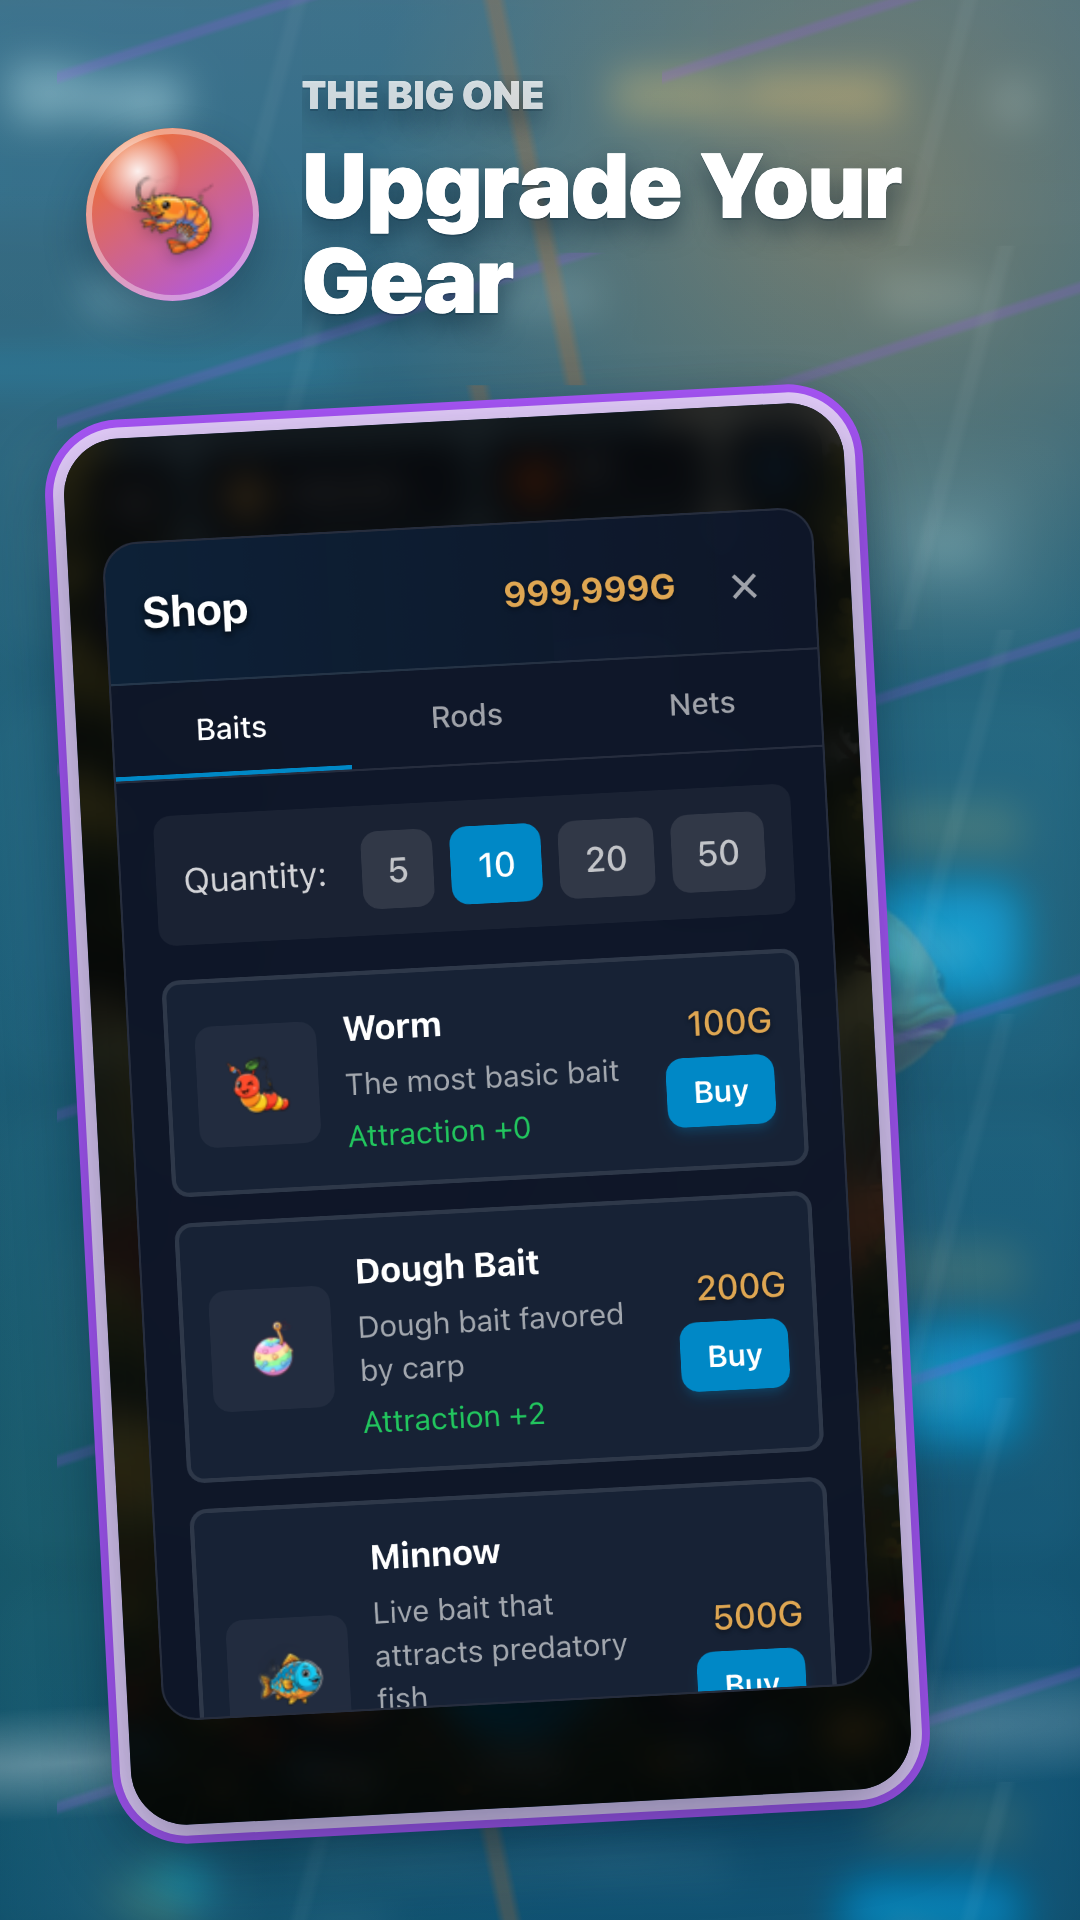
The three equipment roles
A rod helps you finish a catch, bait shapes what you hope to meet, and a net decides how long you can keep fishing before you need to sell.


Rod
Your main tool for making reeling and larger catches feel manageable.


Bait
A consumable choice that gives each trip a clearer target.


Net
Storage that keeps the fishing rhythm from stopping too soon.
A simple early-game route
Instead of replacing everything at once, change the piece that answers your current problem.
| Situation | Check first | Why it helps |
|---|---|---|
| Right after starting | Basic Rod + Worm + Basic Net | Learn the basic loop and feel how bait use and net space work. |
| Bites happen, but reeling feels unstable | Carbon Rod / Pro Rod | A steadier rod gives you more room to manage the catch. |
| You want longer sessions | Medium Net / Large Net | More net space means fewer trips back to sell fish. |
| You want to fill the Fishpedia | Fishpedia + Bait | Check target fish and fishing spots, then adjust bait before leaving. |
Good equipment works best with a goal
The Big One has 150+ fish species, 10 fishing locations, and the Fishpedia collection. The best setup is the one that matches what you are trying to do next.
Start on Android or iPhone/iPad.